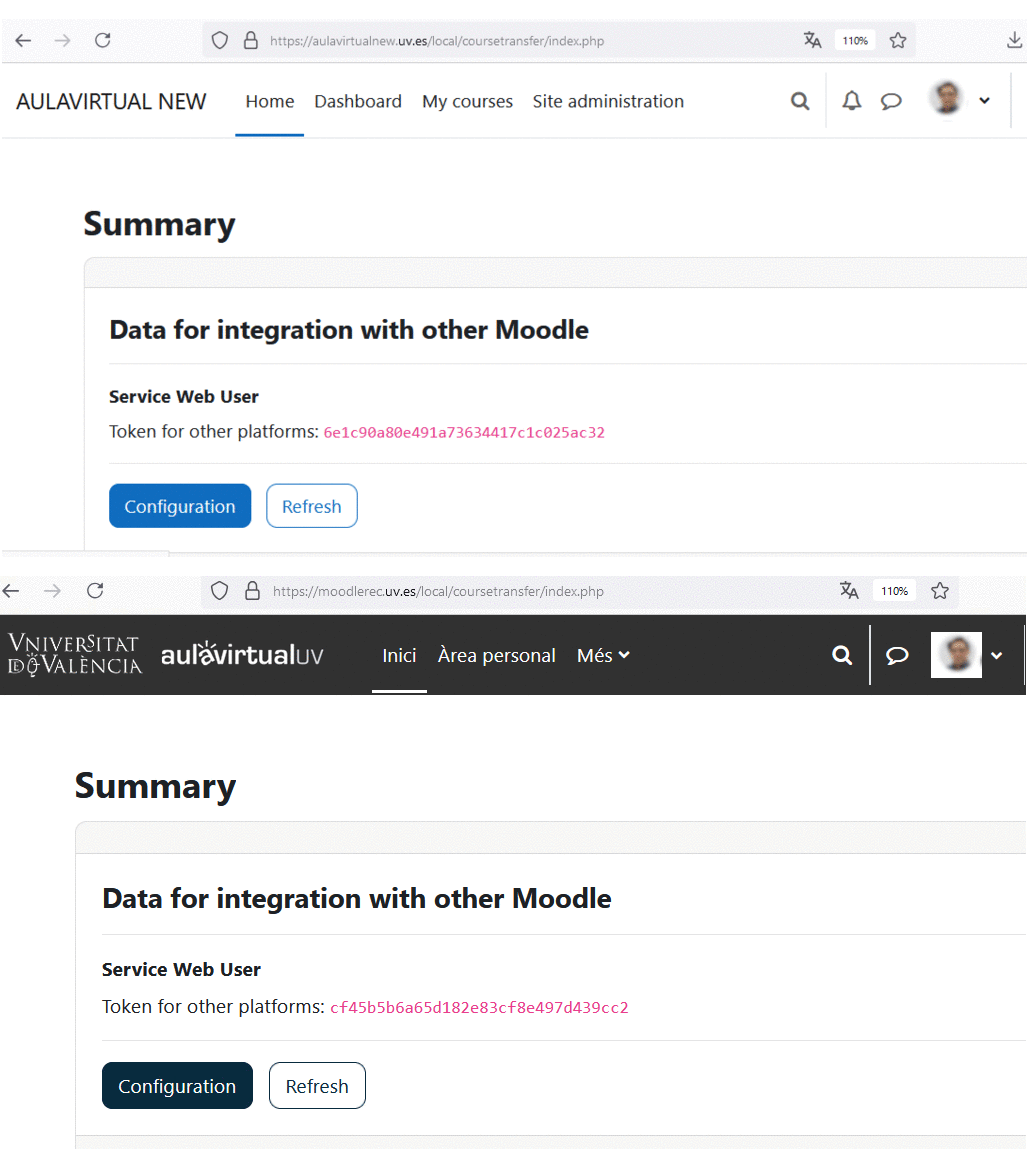
The plugin must be installed on all Moodle sites managed by the same organisation.
All Moodle sites must have Moodle web services enabled and each Moodle site must have an authentication token. The services will be configured at the time of plugin installation, and the authentication token will be created at that time.
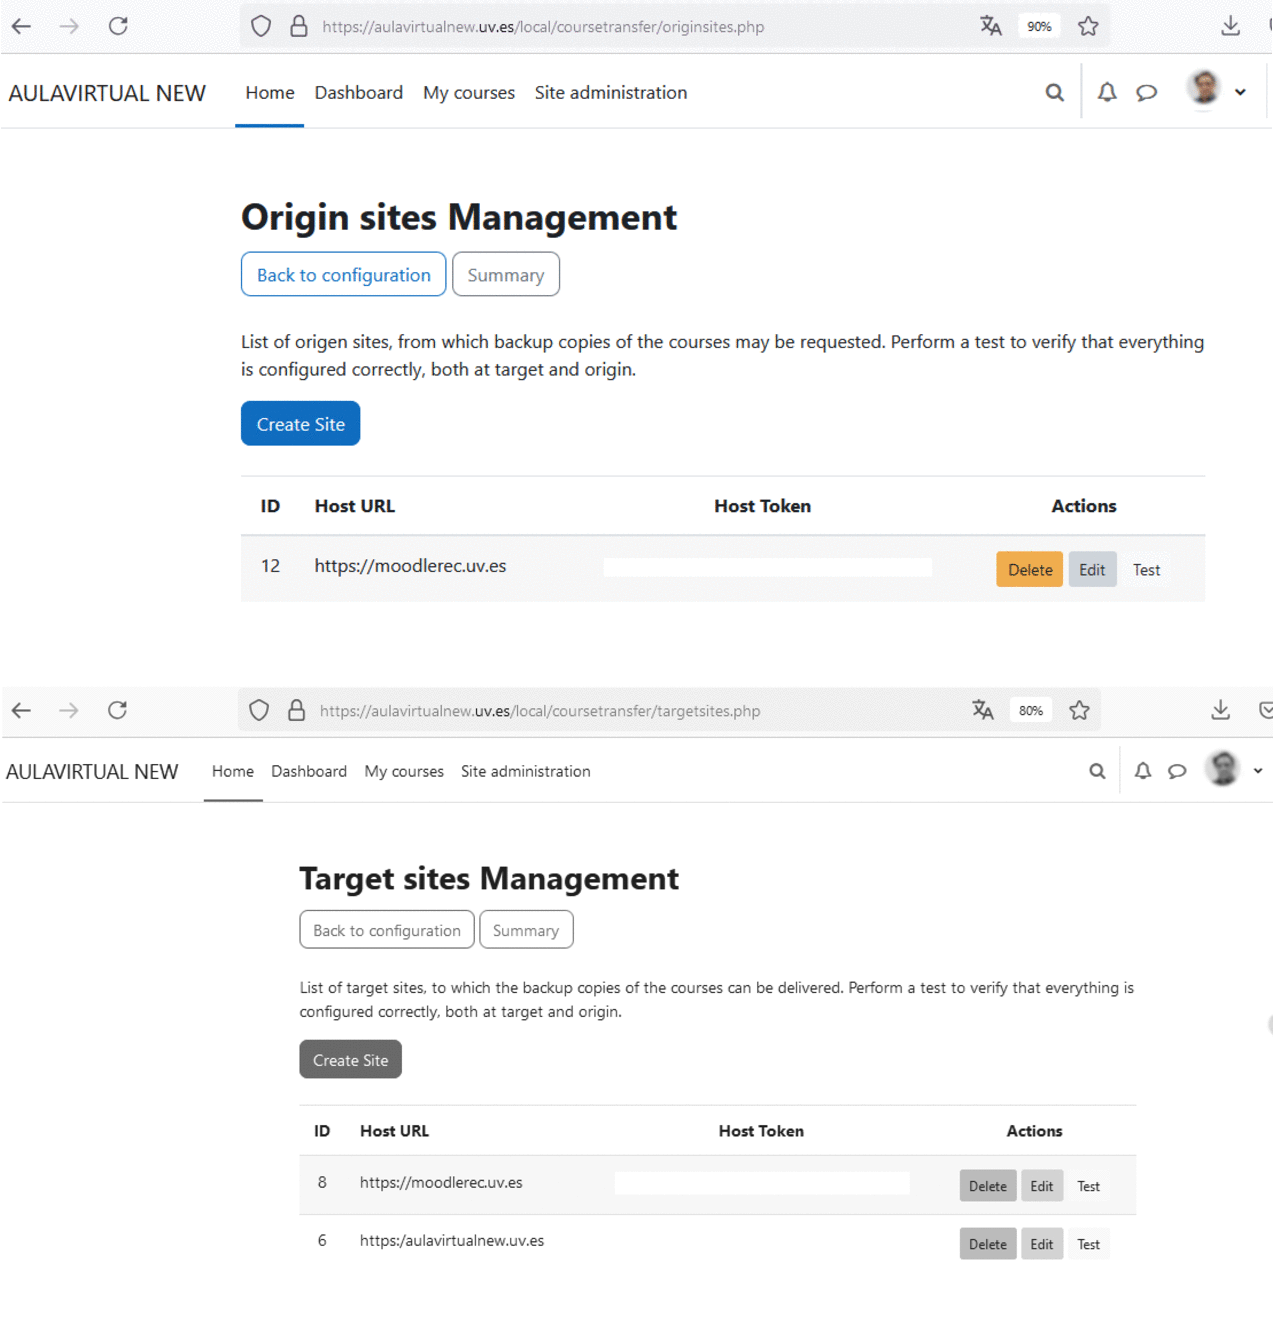
Sites are classified as 'Archive' and 'Destination'. This indicates which course source acts and which courses can be sent to. The site where events are scheduled is called the 'active' site.
The 'active' site must have the 'archived' site set as its source in order to request transfers. And the "archived" site must have the "active" site as its "destination" in order to authorize the transfer request. In this way, each site communicates using the URL and the token of the other site, depending on its role as source or destination.
You can set the maximum size of the course to be transferred, as well as the maximum connection time between the source and target Moodle sites. It is also important to set a unique value to identify users on both sites, which is recommended for unified identity management.


