Access the plugin from anywhere in Moodle
To access the mail menu, just click on the Moodle header icon and a drop-down menu with different options will appear.
Explore the Local Mail 2 plugin to discover and squeeze its main features, be aware of how it can help you!
To access the mail menu, just click on the Moodle header icon and a drop-down menu with different options will appear.
Create and modify to your liking all kinds of personalized labels to optimize the organization and classification of your emails. Select and mark in different ways (as read, unread or favorites) those emails you want. You can also configure the preferences for sending notifications.
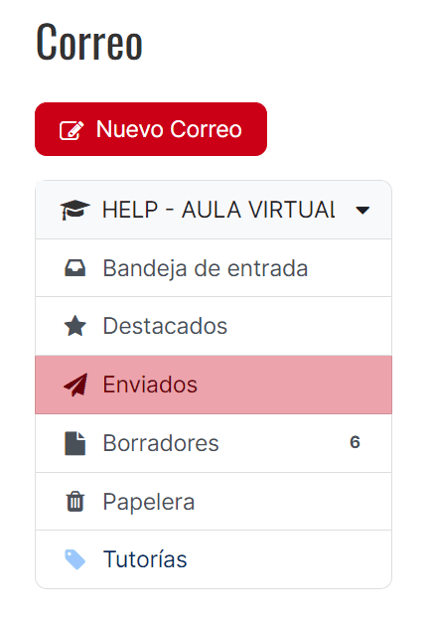
You can consult all your message trays (inbox, highlighted, sent, drafts and trash) in a centralized way, where you will have access to all messages in chronological order and automatically labeled according to the subject. You can also directly consult the message trays filtered by subject. In this section you will also see the labels you have configured to organize your e-mails.
Select as recipients all users or only those you want, including copy (CC) and blind copy (BCC). You can also filter the user search by choosing the role of the user or users to whom you intend to send the message. Once selected, compose your subject and message, use the integrated Atto editor and attach any file you consider.